背景
最初的事情是想观察mysql与java程序网络交互细节。结果在使用 netstat 的时候,发现 macos系统不支持 -p 参数。这个在linux 上常用的参数却成了问题。
显然,是系统环境的问题。所以,可见,统一环境的必要性,这时,docker的作用就显示出来了。
docker 桌面版安装,docker上centos8安装与运行,就成为必须要做的事情。
系统:MacOS Monterey 12.7.1 芯片:intel
前提说明:之前尝试过运行centos7,遇到很多问题,最终也没有完全解决掉。所以,使用centos latest,即centos8
docker 桌面版,下载安装文件,一步步就行了。我们重要关注centos的安装和运行。
NOTE: 通过docker 与通过 dockerfile安装是不同的方式。我的理解通过docker是入门,初学者更容易操作和接受;dockerfile方式更正式,是推荐的方式,因为后面开始真正使用docker的时候,都是通过dockerfile来用的。
参见:mac系统通过dockerfile运行centos8-ssh

centos8安装
拉取(下载)centos8的镜像
不指定版本,默认安装最新的。此时即centos8
- $ docker pull centos
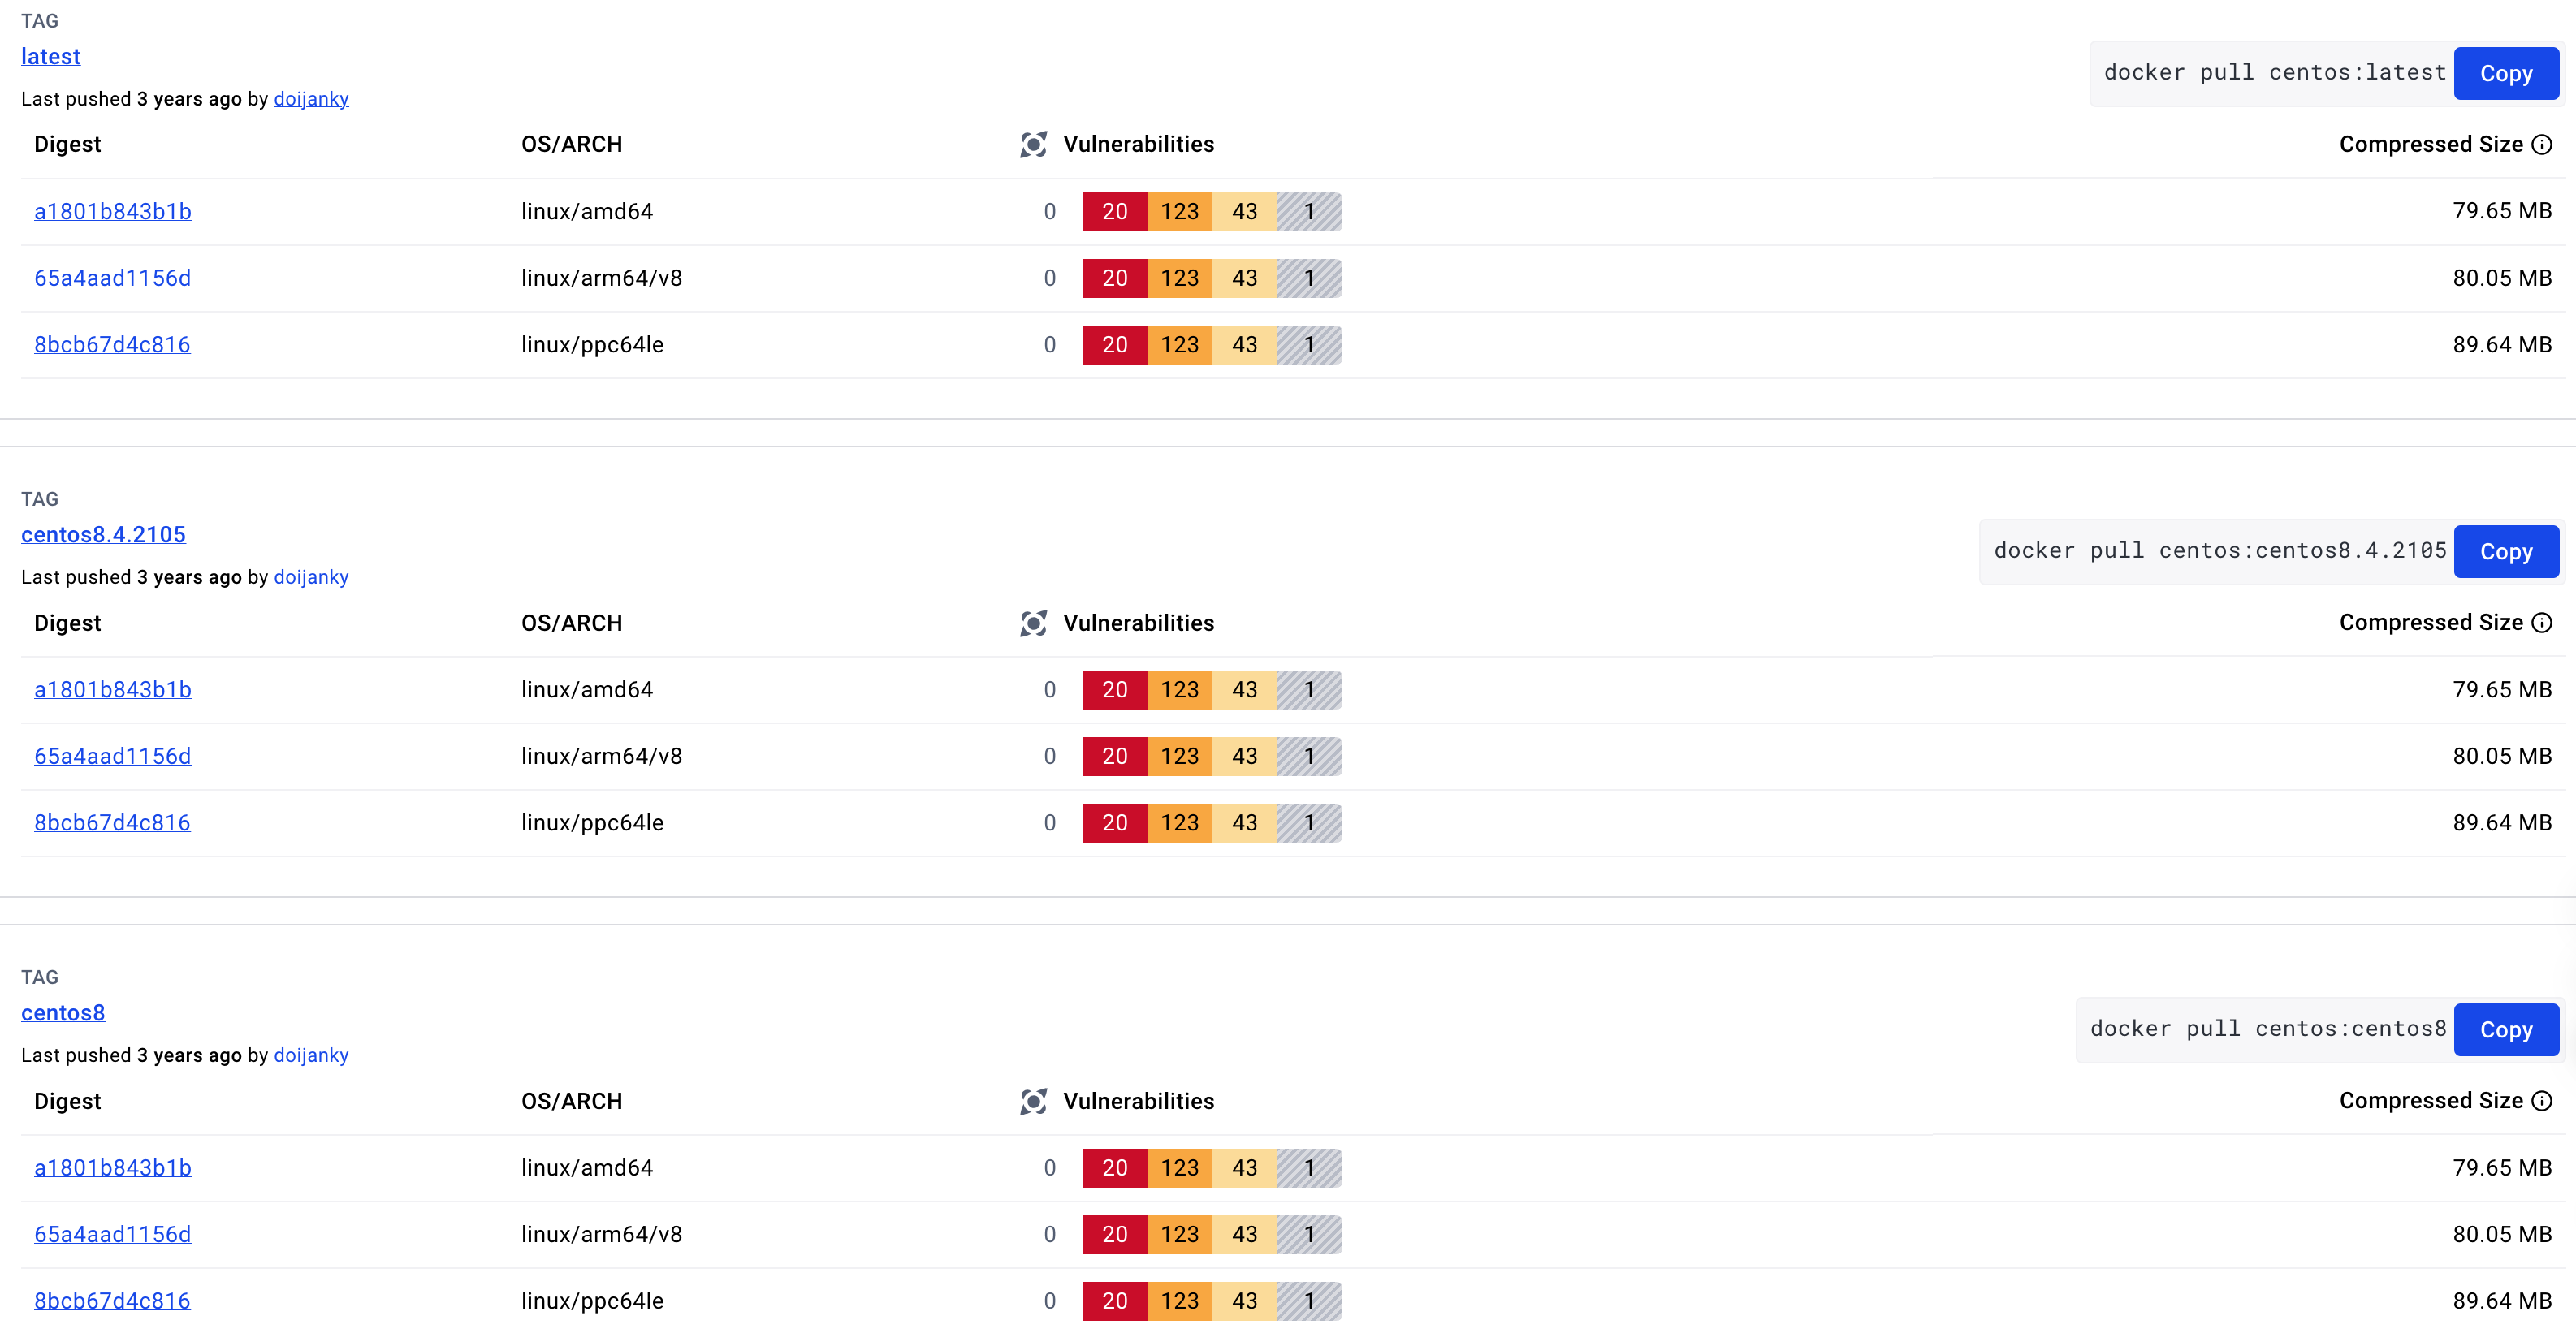
想指定版本,访问官网 centos images

如下:1
2
3
4
5
6Using default tag: latest
latest: Pulling from library/centos
a1d0c7532777: Pull complete
Digest: sha256:a27fd8080b517143cbbbab9dfb7c8571c40d67d534bbdee55bd6c473f432b177
Status: Downloaded newer image for centos:latest
docker.io/library/centos:latest
运行centos8
- $ docker run -d -p 5002:22 –name test-centos8 –privileged=true centos /usr/sbin/init
说明1
2--privileged:特权模式,相当于管理员权限
/usr/sbin/init: 启动容器之后可以使用systemctl方法
进入centos8容器中
-$ docker exec -it test-centos8 bash
执行命令后就进入centos8容器内了。这时,可以执行命令了,如查看容器的进程 ps -ef。1
2
3
4
5
6
7
8[root@5103c43cdab0 /]# ps -ef
UID PID PPID C STIME TTY TIME CMD
root 1 0 0 11:56 ? 00:00:00 /usr/sbin/init
root 30 1 0 11:56 ? 00:00:00 /usr/lib/systemd/systemd-journald
root 32 1 0 11:56 ? 00:00:00 /usr/lib/systemd/systemd-udevd
dbus 98 1 0 11:56 ? 00:00:00 /usr/bin/dbus-daemon --system --address=systemd: --nofork --nopidfile --systemd-activation --syslog-only
root 100 0 0 11:57 pts/0 00:00:00 bash
root 114 100 0 11:57 pts/0 00:00:00 ps -ef

安装 ssh
为了以后可以直接使用这个centos7容器,需要安装 ssh 服务,并赋给一个对外的端口,同时设置开机启动。以便外部访问
安装 ssh
运行安装命令
- $ yum install -y openssh-server
报错了
1 | Loaded plugins: fastestmirror, ovl |
开始我以为是网络问题,通过ping www.baidu.com 是通的。排除网络问题
这个错误信息折腾了一下午,最后通过搜索这个关键词 Could not retrieve mirrorlist http://mirrorlist.centos.org/?release=7&arch=x86_64&repo=os&infra=container error was 找到了解决方案
大概意思是mirrorlist不提供维护了,需要将mirrorlist改为baseurl;同时需要将baseurl的地址mirror.centos.org 改为 vault.centos.org。
你也许会一头雾水,mirrorlist是啥,在哪呢?
- $ cd /etc/yum.repos.d
- $ ls -l
1
2
3
4
5
6
7
8
9
10
11
12-rw-r--r-- 1 root root 718 Nov 17 12:01 CentOS-Linux-AppStream.repo
-rw-r--r-- 1 root root 703 Nov 17 12:00 CentOS-Linux-BaseOS.repo
-rw-r--r-- 1 root root 1130 Nov 10 2020 CentOS-Linux-ContinuousRelease.repo
-rw-r--r-- 1 root root 318 Nov 10 2020 CentOS-Linux-Debuginfo.repo
-rw-r--r-- 1 root root 732 Nov 10 2020 CentOS-Linux-Devel.repo
-rw-r--r-- 1 root root 704 Nov 10 2020 CentOS-Linux-Extras.repo
-rw-r--r-- 1 root root 719 Nov 10 2020 CentOS-Linux-FastTrack.repo
-rw-r--r-- 1 root root 740 Nov 10 2020 CentOS-Linux-HighAvailability.repo
-rw-r--r-- 1 root root 693 Nov 10 2020 CentOS-Linux-Media.repo
-rw-r--r-- 1 root root 706 Nov 10 2020 CentOS-Linux-Plus.repo
-rw-r--r-- 1 root root 724 Nov 10 2020 CentOS-Linux-PowerTools.repo
-rw-r--r-- 1 root root 898 Nov 10 2020 CentOS-Linux-Sources.repo
修改以下文件中的mirrorlist
- $ vi CentOS-Linux-BaseOS.repo
- $ vi CentOS-Linux-AppStream.repo
- $ vi CentOS-Linux-Extras.repo
修改CentOS-Linux-BaseOS.repo
1 | 注释掉mirrorlist |
修改CentOS-Linux-AppStream.repo
1 | 注释掉mirrorlist |
修改CentOS-Linux-Extras.repo
1 | 注释掉mirrorlist |
以上文件中,如果enabled=0,修改为enabled=1。
保存,退出。更新yum源信息,执行如下
- $ yum -y update
我们再重新执行ssh安装
- $ yum install -y openssh-server vim passwd
安装成功了1
2
3
4Installed:
openssh-8.0p1-10.el8.x86_64 openssh-server-8.0p1-10.el8.x86_64 passwd-0.80-3.el8.x86_64 vim-common-2:8.0.1763-16.el8.x86_64 vim-enhanced-2:8.0.1763-16.el8.x86_64 vim-filesystem-2:8.0.1763-16.el8.noarch
...
Complete!

启动ssh
-$ systemctl start sshd.service
-$ ps -ef
可以看到ssh的进程了1
2
3
4
5
6
7
8
9
10
11UID PID PPID C STIME TTY TIME CMD
root 1 0 0 11:56 ? 00:00:00 /usr/sbin/init
root 30 1 0 11:56 ? 00:00:00 /usr/lib/systemd/systemd-journald
root 32 1 0 11:56 ? 00:00:00 /usr/lib/systemd/systemd-udevd
dbus 98 1 0 11:56 ? 00:00:00 /usr/bin/dbus-daemon --system --address=systemd: --nofork --nopidfile --systemd-activation --syslog-only
root 100 0 0 11:57 pts/0 00:00:00 bash
root 274 1 0 12:07 ? 00:00:00 /usr/sbin/sshd -D -oCiphers=aes256-gcm@openssh.com,chacha20-poly1305@openssh.com,aes256-ctr,aes256-cbc,aes128-gcm@openssh.com,aes128-ctr,aes128-cbc -oMACs=hmac-sha2-256-etm@openssh.com,hmac-sha1-etm@openssh.com,umac-128-
root 280 274 0 12:10 ? 00:00:00 sshd: root [priv]
root 282 280 0 12:10 ? 00:00:00 sshd: root@pts/1
root 283 282 0 12:10 pts/1 00:00:00 -bash
root 301 100 0 12:10 pts/0 00:00:00 ps -ef
设置centos8容器的密码
- $ whoami
1
root
我们给root账户设置密码
- $ passwd
按照提示,输入两次新密码,及时生效。
客户端通过ssh连接centos8镜像
我们新打开一个终端窗口,执行ssh命令
- $ ssh root@localhost -p 5002
1
2
3root@localhost's password:
Last failed login: Sun Nov 17 12:10:14 UTC 2024 from 192.20.0.1 on ssh:notty
There was 1 failed login attempt since the last successful login.
可以看到,连接成功了。
我们已经做好了含有ssh能力的centos8镜像。以后我就可以复用这个镜像了,可以在新机器上拉取pull这个镜像直接使用了。以它为基准,继续扩展,如安装mysql,nginx,redis等等。大大节省时间和提高效率。
我们只需要将这个做好的镜像push到docker hub即可。

镜像上传到docker hub
提交镜像
- $ docker commit -m “has ssh action” -a “test123” test-centos test-centos:v1
1
说明:docker commit -m “镜像描述” -a “制作者” 容器名 镜像名
推送镜像到docker hub
- $ docker push test-centos8:v1
报错了,提示没有权限1
2
3
4The push refers to repository [docker.io/library/test-centos8]
f6e6bced2702: Preparing
74ddd0ec08fa: Preparing
denied: requested access to the resource is denied
- $ docker image ls
查看镜像1
2REPOSITORY TAG IMAGE ID CREATED SIZE
test-centos8 v1 b3fd18bb5d2d 24 minutes ago 302MB
解决方案:我们重新tag下,将镜像加上你的docker hub的用户名。如yourUserName=test123
- $ docker tag test-centos8:v1 test123/test-centos8:v1
再次push到docker hub
- $ docker push test123/test-centos8:v1
1
2
3
4The push refers to repository [docker.io/{yourUserName}/test-centos8]
f6e6bced2702: Pushed
74ddd0ec08fa: Pushed
v1: digest: sha256:123ed4e883cecef8180433b3a21d11b1e383d9da68bac01694b1c84575e3e72b size: 333
成功了。
我们通过docker desktop也可以看到hub上的镜像,如图

附录
Could not retrieve mirrorlist的解决方法
参考
M1芯片DockerDeskTop安装CentOS胎教级教程
拉取mysql:5.7镜像
docker pull mysql:5.7
启动容器
docker run -d -p 33002:3302 –name mysql-5.7-test-2 -e MYSQL_ROOT_PASSWORD=123456 mysql:5.7
1 | -e MYSQL_ROOT_PASSWORD=123456:指定在容器启动时设置的环境变量,其中 MYSQL_ROOT_PASSWORD 是指定了 MySQL 的 root 用户的密码为 123456 |
进入容器
docker exec -it mysql-5.7-test-2 /bin/bash
登陆mysql
mysql -uroot -p
提示输入密码,即MYSQL_ROOT_PASSWORD=123456 这个密码1
Enter password:
开通mysql远程访问权限
GRANT ALL PRIVILEGES ON . TO ‘root‘@’%’ IDENTIFIED BY ‘123456’ WITH GRANT OPTION;
刷新权限配置
flush privileges;
use mysql;
刷新mysql user表
select Host, User, plugin, authentication_string from user;
安装netstat 等网络命令
yum install -y net-tools
客户端
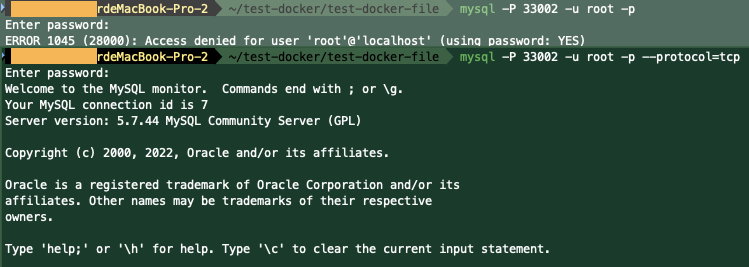
mysql -P 33002 -u root -p –protocol=tcp
1 | --protocol=tcp 指定端口协议是tcp |


